Agent Access Re-visited

For many years now the ReloSpec  has provided the ‘Agent Access’ feature.  This great feature provides the agent valuable tools for managing referrals, and is included with your ReloSpec license.

Here are a few of the features included with ‘Agent Access’:

  • The agent has Read-Only access to only those records assigned
  • All ‘Public’ notes are visible
  • Using a navigation button, quickly filter for ‘Active’ or ‘Pending’ or ‘Closed’
  • Using the optional Images feature the agent can upload property images, BMAs or other related files
  • The agent has access to their Agent table record and can update their own email address and other contact details
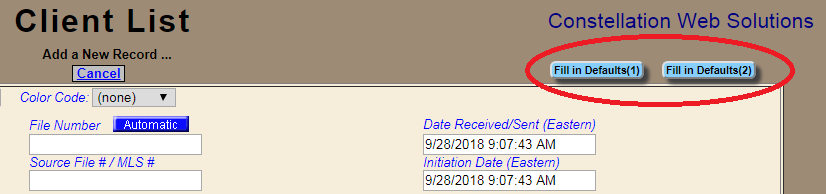
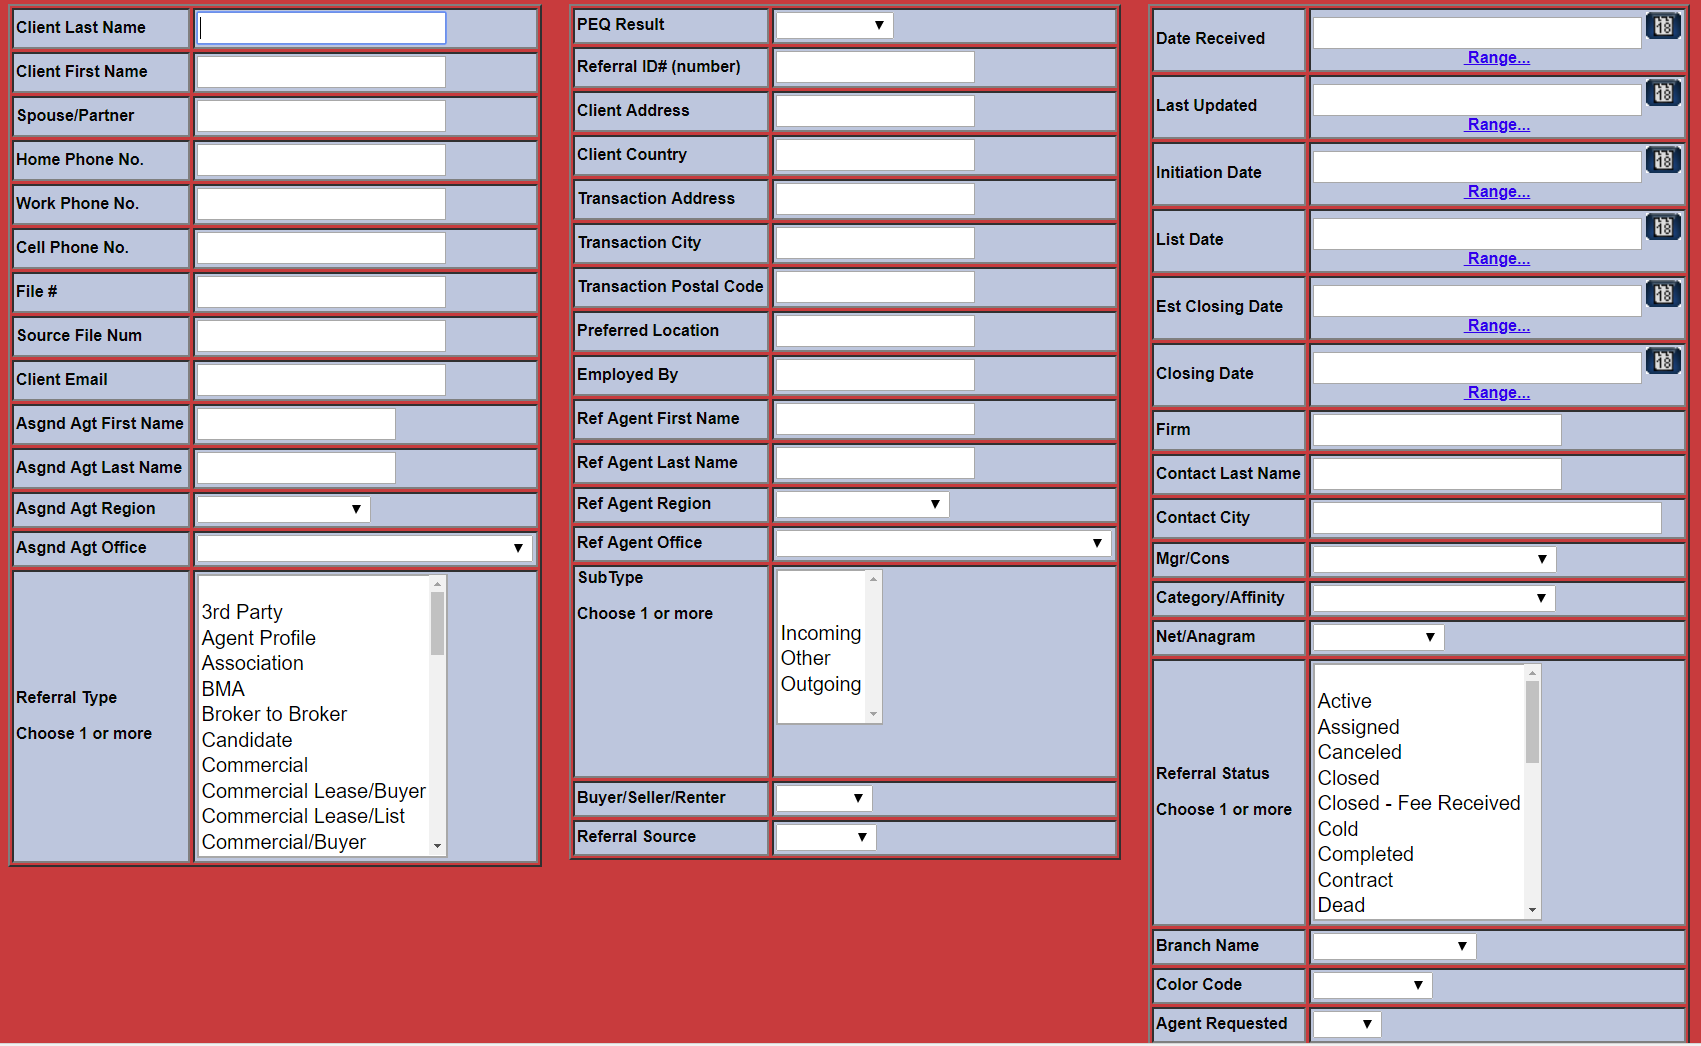
  • Using the ADD NEW button the agent can submit new referrals directly to ReloSpec
  • At any time the agent can provide updates to referrals assigned to them.  Agents don’t need to wait for an emailed update request and submitted updates go directly to the Responses page
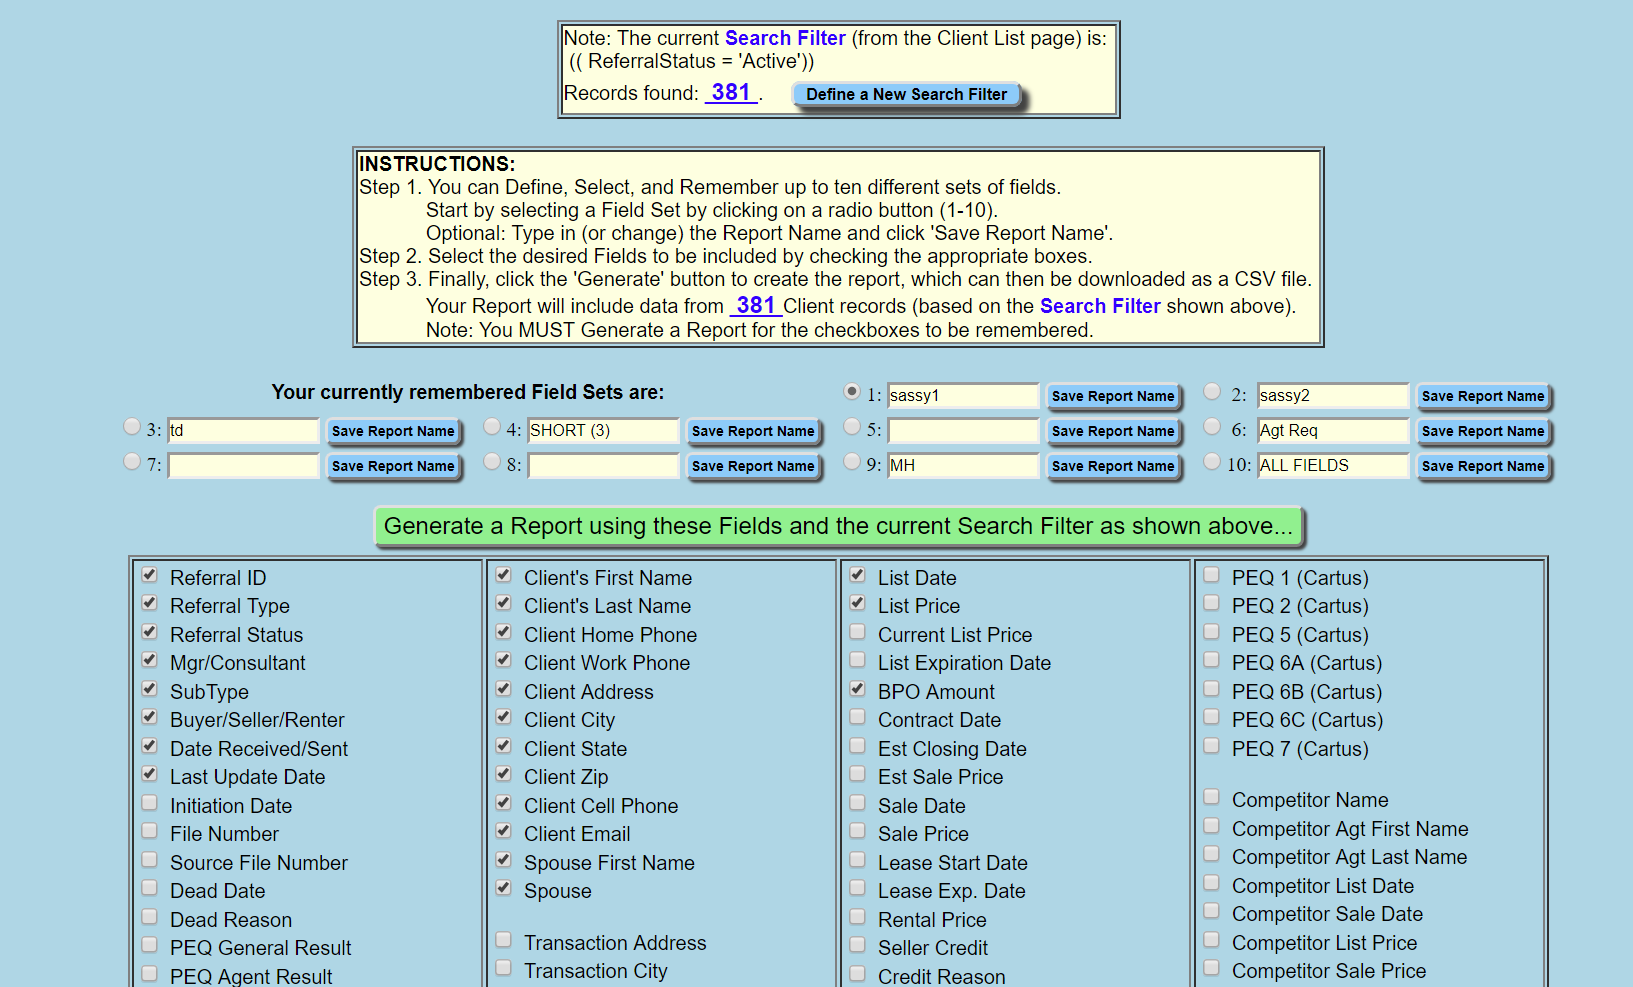
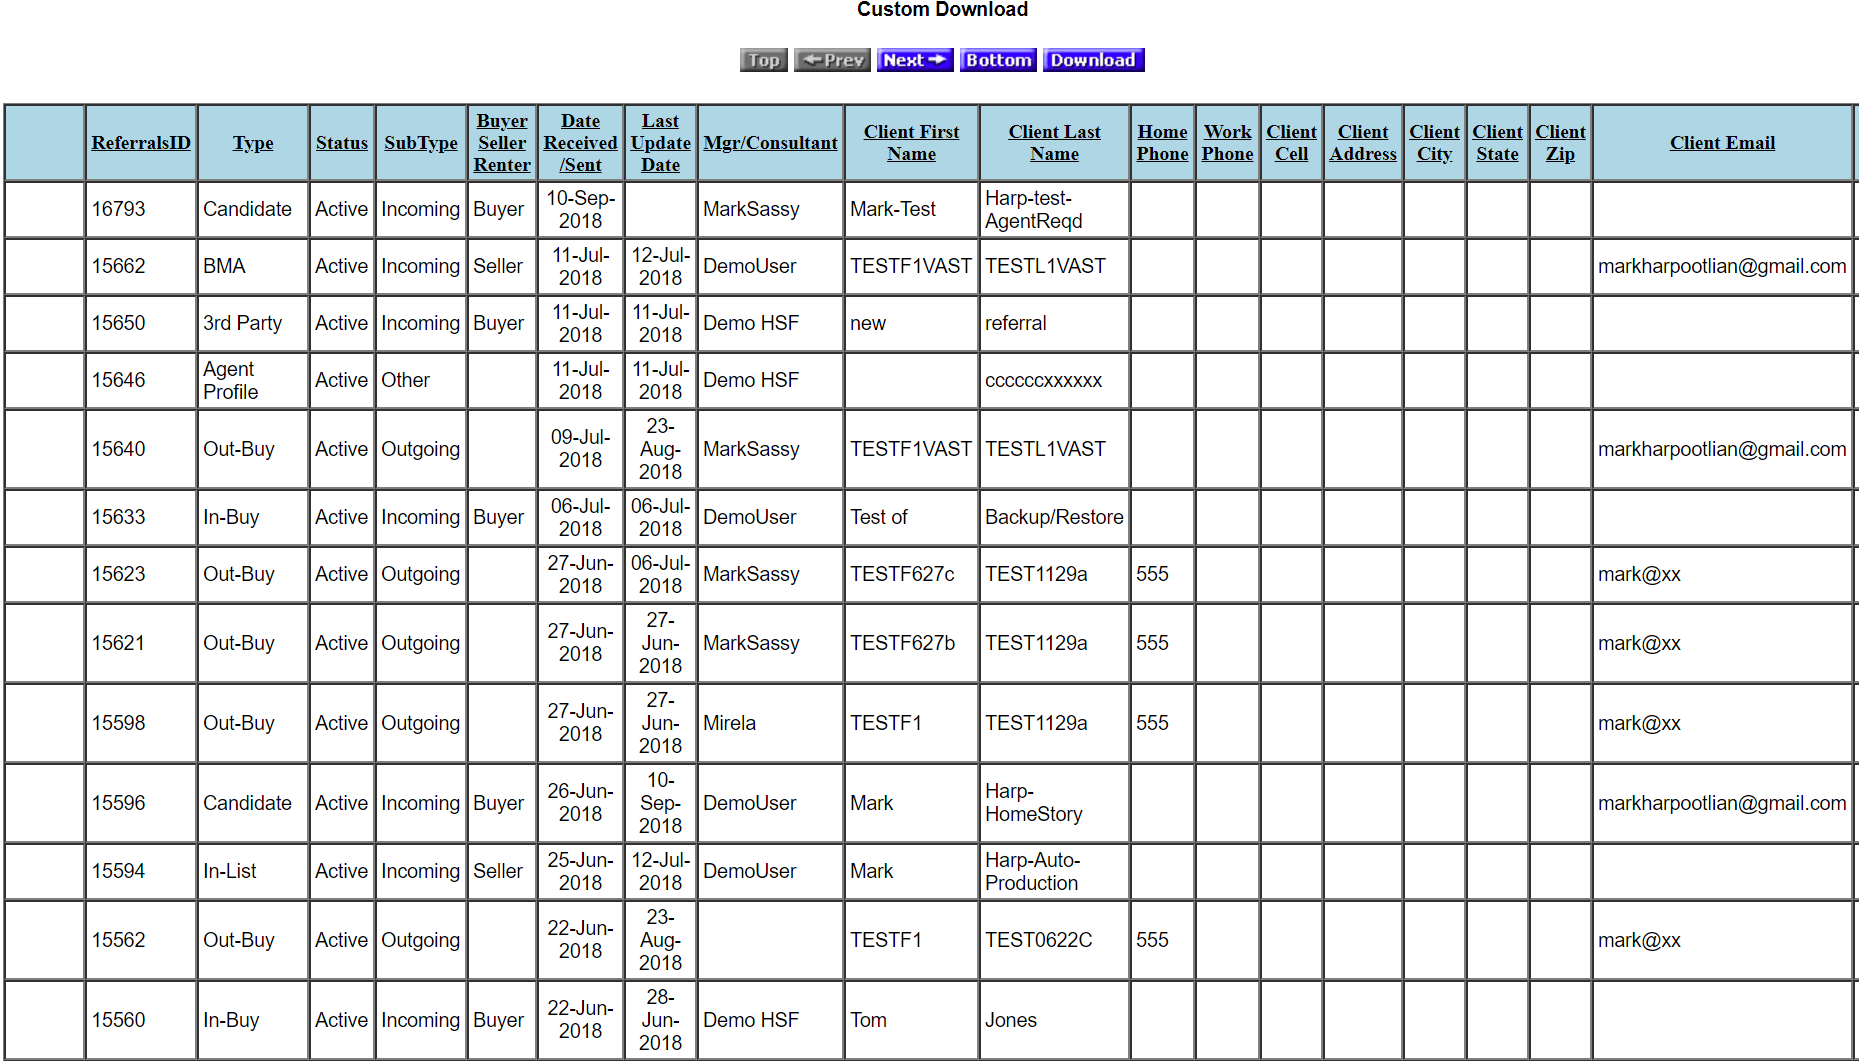
  • Using the REPORTS option the agent can generate their own ‘Agent Scorecard’ report

Setting up your agent’s access is simple.  From the Main Menu page, click SETTINGS, USERS, then click ADD NEW and fill out the page.  The first field (User Name) is very important because it is used to select the records the agent has access to .  It is always the Last Name, First Name.  To make it easier, click the Agent Lookup button to fill it in automatically.

Fill in the other fields including the User ID which must be unique, and the Password.  We suggest using the agent’s email address but can be any unique ID.

Be sure the [License Level] field is set to “Agent”.  Once the record is saved the ID/Password will be available immediately.  And, you may add or delete agent users as needed.

Training videos are available from the Main Menu.  Click ‘About’, ‘Videos’ and click on the ‘Agent Access’ button.

Agents who use this valuable feature are able to manage their referrals easier in less time, help you avoid time-consuming interruptions, and close more business.

Constellation Real Estate Group acquires Baynet

CONSTELLATION WEB SOLUTIONS INC., DOING BUSINESS AS THE CONSTELLATION REAL ESTATE GROUP (CREG), A LEADING PROVIDER OF SCALABLE SAAS PRODUCTS IN THE REAL ESTATE INDUSTRY, ANNOUNCED TODAY THAT IT HAS ACQUIRED THE ASSETS OF BAYNET WORLD, INC. (BAYNET).BELLEVUE, WASH. (PRWEB) OCTOBER 02, 2018

Baynet, a pioneer in real estate and MLS technologies, was founded in 1994 and offers turn-key solutions, as well as custom websites, comprehensive CRM platforms, website management, IDX technology, and marketing solutions for real estate agents and brokerages.

The acquisition of Baynet further expands the Constellation Real Estate Group’s presence in an otherwise fragmented real estate technology market, providing sales and marketing solutions, transaction management, and back office software for over half of a million real estate agents, brokerages, and franchises across the U.S. and Canada.

“As real estate agents and brokers explore the right partners for their technology solutions, we are pleased to be able offer powerful front office and back office solutions through the Constellation Real Estate Group’s support, expertise, and technology,” said Scott Smith, President of Constellation Software Real Estate Group. “Baynet has a proven dedication to their products, while maintaining a strong focus on long-term customer relationships. We’re excited to welcome Baynet to the Constellation Real Estate Group.”

Acquiring Baynet aligns with CREG’s strategy of investing in vertical market solutions that benefit the real estate professionals that use them.

“Baynet’s mission is to simplify real estate technology and marketing for our customers and joining the Constellation Real Estate Group presents a powerful opportunity to leverage the experience of CREG to grow our products and better serve our customers,” said Joe Mizrahi, CEO of Baynet. “We’re thrilled to join the Constellation Real Estate Group and extend the value they bring to the real estate industry and our customers.”

Following the recent acquisition of Real Estate Digital (RED) in 2018 and Relocation Specialist (ReloSpec) in November 2017, Baynet marks Constellation Real Estate Group’s third new portfolio business in the past twelve months.


About:

The Constellation Real Estate Group

The Constellation Real Estate Group acquires and invests in real estate software brands that are committed to providing long-term solutions and partnerships with franchises, brokers, agents, MLSs, and associations. CREG provides a suite of market-leading technology solutions designed specifically for the real estate industry through its brands, which include: Market Leader, Constellation Web Solutions, Sharper Agent, Zurple, Z57, Diverse Solutions, Birdview, ReloSpec, Real Estate Digital, and now Baynet World, Inc. Over 500,000 real estate agents, teams, and brokerages across North America rely on CREG’s products and services to power, manage, and grow their businesses.
For more information, visit http://www.csiregroup.com

Baynet World, Inc.

Founded in 1994, Baynet World, Inc. has been a pioneer in real estate technology and MLS solutions. Today, Baynet keeps a portfolio of five families of services, including real estate websites, CRM platforms, marketing, IDX technology, and enterprise solutions. Baynet continues to innovate within the real estate industry with top-notch agent and broker productivity solutions. Based out of San Jose, CA, Baynet is headquartered in the heart of Silicon Valley and represents clients all over the globe.
For more information, visit http://www.baynet.com

New Feature: Add New Records with Defaults

Do you often find yourself clicking ADD NEW RECORD only to re-enter the same information repeatedly with other new records?  You can now save time by storing the default information and recalling it at the touch of a new button.

Here’s how:

  1. In the Client List page click ‘Add New (Classic)’.
  2. Enter the fields in sections for General Information, the Contact and the Referring Agent.
  3. Enter “Default1” in the Client Last Name field, and click ADD NEW RECORD.  (You may have a second default record in which you would enter “Default2” in the Client Last Name field.)

Once the default record(s) have been saved you’re all set.  When you want to use the default settings, click the ‘Add New (Classic)’ button, then click either the ‘Fill in Defaults(1)’ or the ‘Fill in Defaults(2)’ button to have the fields filled-in for you!

Custom Financial Report Video Now Available

Yesterday we announced upgrades for the DOWNLOAD button in the Client List page and for the ‘Custom Financial Report’.

There is now a video available.  Click here to view the video.

We appreciate your suggestions for updates and features.

Correction: DOWNLOAD button and Custom Financial Report

Today  you received an email blog regarding the DOWNLOAD button on the Client List and the report named ‘Custom Financial Report’.  There was an important part missing from Step 2.

Here is what should have been included.  The new text is in italics.

Want to get a fast, simple report?  Perhaps you want to drop the records you find into an Excel spreadsheet?  It’s as easy as 1, 2, 3

  1. You always start with using the SEARCH button in the Client List page to filter the records.
  2. Click the DOWNLOAD button to open the field selection page where you can select which fields you want included.  Next, click the green button labeled, “Generate a report using these fields…”.  That will display a grid with your filtered records and selected fields.
  3. Click the DOWNLOAD button on the grid display page to insert the results into a spreadsheet.

In addition, we have expanded the number of date fields used in the SEARCH page and included ‘Range’ links that allow you to use a pop-up calendar to select your Begin and End dates.  Here is what it now looks like:

All the date fields are located in the upper-right of the page.

The Field Selection page now includes Search results at the top (number of records found), updated instructions for saving the field list selected and the ability to generate the report that may be downloaded.

After searching for the records and selecting the fields, click the green button labeled “Generate a report using these fields…”.  That will display a grid with your filtered records and selected fields.  Here is a sample of the results:

Notice that this page will display just the first 25 of however many records were selected.  This is so we can display a sample report rapidly.  When you click the DOWNLOAD button to put the records into a spreadsheet, ALL the records will be included.

We apologize for the omission and hope it didn’t cause too much confusion.

Updated DOWNLOAD and Custom Financial Report

Over the last few weeks we have been responding to requests to make it easier to filter records used when using the DOWNLOAD button and when using the ‘Custom Financial Report’.

Want to get a fast, simple report?  Perhaps you want to drop the records you find into an Excel spreadsheet?  It’s as easy as 1, 2, 3.

  1. You always start with using the SEARCH button in the Client List page to filter the records.
  2. Click the DOWNLOAD button to open the field selection page where you can select which fields you want included.
  3. Click the DOWNLOAD button on the field selection page to insert the results into a spreadsheet.

If you were to start with clicking REPORTS, and select the ‘Custom Financial Report’ the process is the same.  Opening the report will take you to the field selection page.  If you have already used the SEARCH button in the Client List page to select the records, you’re set to DOWNLOAD.  If not, just return to the Client List page and follow the 3 easy steps shown above.

You may think of the DOWNLOAD button on the Client List page as a shortcut to the ‘Custom Financial Report’ since they now work the same way.

In addition, we have expanded the number of date fields used in the SEARCH page and included ‘Range’ links that allow you to use a pop-up calendar to select your Begin and End dates.  Here is what it now looks like:

All the date fields are located in the upper-right of the page.

The Field Selection page now includes Search results at the top (number of records found), updated instructions for saving the field list selected and the ability to generate the report that may be downloaded.

After searching for the records and selecting the fields, click DOWNLOAD on the Field Selection page to view the results:

Notice that this page will display just the first 25 of however many records were selected.  This is so we can display a sample report rapidly.  When you click the DOWNLOAD button to put the records into a spreadsheet, ALL the records will be included.


New ReloSpec version starts Monday

As was announced in the previous blog this week, the new Relocation Specialist (ReloSpec) version will be in production on Monday, July 2nd.  This new version is easier to use, a little better looking and the ADD NEW page will save lots of time when entering new referrals.

If you want a quick orientation to the new Client List page a 10-minute video is now available.  Click here to view the video.

Be sure to review the previous blog and the section on ‘Getting Ready for the new ReloSpec version’.  There are simple instructions there that will be important for using the new version, especially the importance of allowing pop-ups.

Thanks to all who helped with suggestions and encouragement.  We’re very excited to show off this latest version.

Update on ReloSpec Emails

As we stated in the April 5th blog we are in the process of upgrading our ReloSpec email services.  Now that the groundwork is complete we are applying the upgrade to the first set of email pages which include those generated by clicking the envelope icons on the Client List page. This week we’ll begin applying the changes to the popular ReloSpec forms including AutoPilot, AutoUpdate, AutoAssign, Referral Submit and others.

All upgraded emails will include your Company Name which will be inserted in front of the FROM: email address which is notify@relosoftware.com.  That way your recipients will know who it is coming from.  For example, if the email is coming from Susie at ABC Realty the FROM: will have “ABC Realty <notify@relosoftware.com>”.   What will display in the Inbox is just “ABC Realty”.

In ALL cases when the recipient clicks REPLY, the sender’s exact email address will be inserted automatically.  So, even though the FROM: is “ABC Realty <notify@relosoftware.com>”, when the person clicks REPLY: the TO: field will have something like “Susie@ABCRealty.com” -just as it has always worked.

Since we’ll be inserting the Company Name in the FROM: field, some may want to shorten what will appear.  This is not required, but is suggested.  For those customers affiliated with Berkshire Hathaway HomeServices [My Company Name] this may be especially true.  Changes may be made in the SETTINGS, USERS table.

Remember that you may also add language to the SUBJECT line, such as “Hello from Susie at ABC Realty”.  That may help if you want your email recipients to have additional info.

IMPORTANT: For now, DO NOT include more than one email address at a time in the same field.  You may have one email address in the TO: field and one email address in the CC: field and one in the BCC: field, but for now having more than one in any of the fields will prevent the email from being delivered.  This will change in the next couple weeks, but for now just include one email address in each field.


Improved Delivery of ReloSpec Email

We all know that spam is a fact of life on the internet, and while major email service providers have made enormous strides over the years in identifying those unsolicited messages from your long lost aunt who is stranded on a Pacific island and needs funding to get home, some of those filters can be very aggressive, leading to delivery problems for legitimate e-mail messages.  ReloSpec Cloud is no exception when it comes to the possibility of delivery issues.

One of the ways applications maximize the chance for successful delivery of a message is to make use of what’s called an authenticated domain, where, essentially, the “server is known to match the sender”.  This is an industry best practice, and ReloSpec Cloud now has a way to honor this best practice by partnering with Mailgun, a reputable and well-regarded, enterprise-strength e-mail service.  The authenticated domain we’ll be using is relosoftware.com. 

What does this mean for you?  Really, it’s not that big a deal, but there are a couple things you should be aware of.  Whether you use Outlook, Gmail, or a different mail client, messages coming from ReloSpec Cloud will be coming from notify@relosoftware.com.  It will probably look a bit like what you see here.

What this means is that any rules you have set in your inbox that reference a previous “from” address will no longer be in effect.  You might wish to reset such rules.

Aside from that, nothing changes. When you hit “Reply” to one of these messages, your email client will recognize the “Reply-To” in the incoming message.  This is the address of the person that actually sent you the message.  You can reply as usual be on your way.

The conversion to this new method will begin the week of April 9th and continue through May 1st.  The benefits we can all expect to see: improved rate of delivery, and much more insight into what delivery problems do exist, if any.

Please let us know if you have questions or concerns. We will keep you updated!


Announcing Customer Advisory Boards

In the effort to address specific customer needs and build value-added features into the Relocation Specialist (ReloSpec) software, we are now forming ‘Customer Advisory Boards’.  Members of each specific board will help identify those features that may be unique to that group, be given an opportunity to beta new features, and review new design options.

We are planning to have these groups separated by affiliation so we can better understand and address your specific needs.  The groups are:   1) Berkshire Hathaway HomeServices and Real Living brokers, 2) members of the Cartus broker network, 3) members of LeadingRE, as well as, 4) a general Relocation Director group.   The Boards will meet once a month for about 30-45 minutes over the Internet.  Board members will help determine the best date/time to meet.  The suggested time is 11:00 Central time on either a Tuesday, Wednesday or Thursday.  Representatives from Constellation Web Solutions, the owner of the ReloSpec software, will conduct the first meeting though future meetings may be conducted by board members.

If you would like to volunteer to serve on one of the Customer Advisory Boards, please let us know.  You may CLICK HERE to submit your name and suggested meeting time(s).

We look forward to working with you to bring time-saving solutions to the ReloSpec software.